Why Small Gaps Have an Outsized Impact
Most homeowners focus on big-ticket upgrades — new windows, better insulation — when trying to cut energy costs. But the unsealed gaps hiding in plain sight are often responsible for a surprising share of heating and cooling loss. The U.S. Department of Energy estimates that air leakage can account for 25–40% of the energy used for heating and cooling in a typical home.
The physics is simple: conditioned air escapes wherever pressure differences exist. Your HVAC system then compensates by running longer to maintain your set temperature. The result is higher utility bills without any change in comfort. Fixing the leaks is almost always cheaper and faster than upgrading equipment.
For a full seasonal approach to keeping your home efficient, see the room-by-room seasonal maintenance guide — it covers weatherproofing checks alongside other critical upkeep tasks.
25–40%
Share of heating/cooling energy lost to air leaks
According to the U.S. Department of Energy, air infiltration accounts for a substantial portion of home energy use in typical American residences.
$20–$50
Typical cost to weatherstrip a single door
Most weatherstripping kits for a standard exterior door are widely available at hardware stores in this price range, making them among the highest-return DIY improvements.
The Spots Most Homeowners Miss
Doors and windows get most of the attention, but they're rarely the worst offenders in a well-maintained home. The following locations are consistently underinspected:
- Attic hatch covers: An uninsulated or poorly sealed attic hatch acts like an open window to the outdoors. Most are pull-down ladders with no weatherstripping at all.
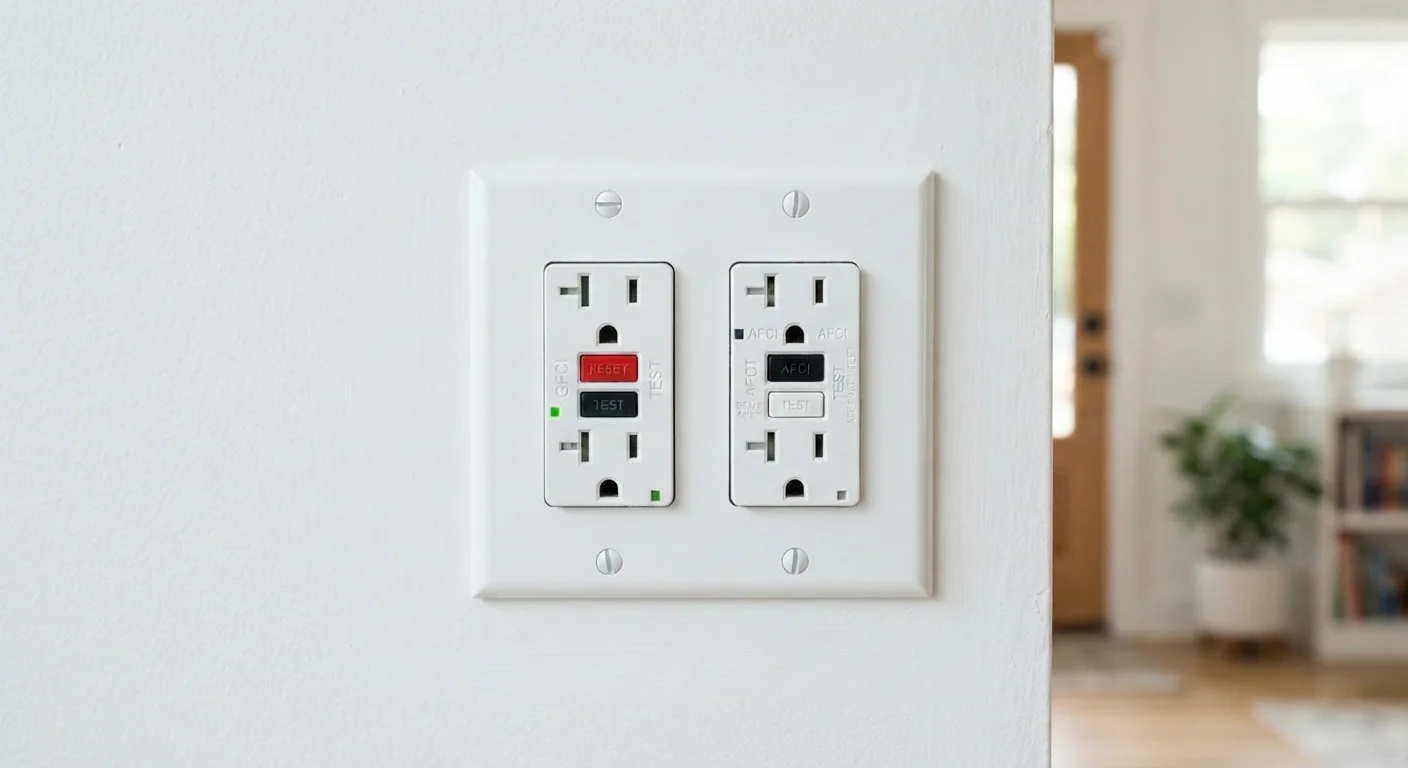
- Electrical outlets and switches on exterior walls: The gap behind the cover plate connects directly to the wall cavity, which connects to outside air. Foam gaskets sized for standard outlets cost almost nothing.
- Recessed light fixtures: Older can-lights installed through the ceiling create direct paths to unconditioned attic space. They can also be fire hazards if sealed incorrectly — use only fire-rated covers designed for this purpose.
- Plumbing and wiring penetrations: Wherever pipes or cables pass through a wall, floor, or ceiling, there's typically a gap. Expanding foam sealant fills these irregularly shaped holes effectively.
- Fireplace dampers: A damper left open — or one that fits poorly when closed — lets conditioned air escape continuously through the flue.
A Note on Recessed Light Fixtures
Sealing older recessed can lights requires fire-rated covers specifically designed for this purpose — standard caulk or foam is not appropriate and could create a fire hazard. If your home has recessed fixtures installed directly against the attic floor, consult a licensed electrician or energy auditor before sealing. Newer airtight fixtures labeled IC-rated (insulation contact) don't carry the same risk.
For a deeper look at how caulk and weatherstripping work together across the home, the guide on sealing your home against energy loss explains materials and application techniques in detail.
Best Practices for Sealing What You Find
Once you've identified your leaks — a stick of incense or a lit candle held near suspect areas on a windy day will waver at drafts — the right material matters. Different gaps require different solutions.
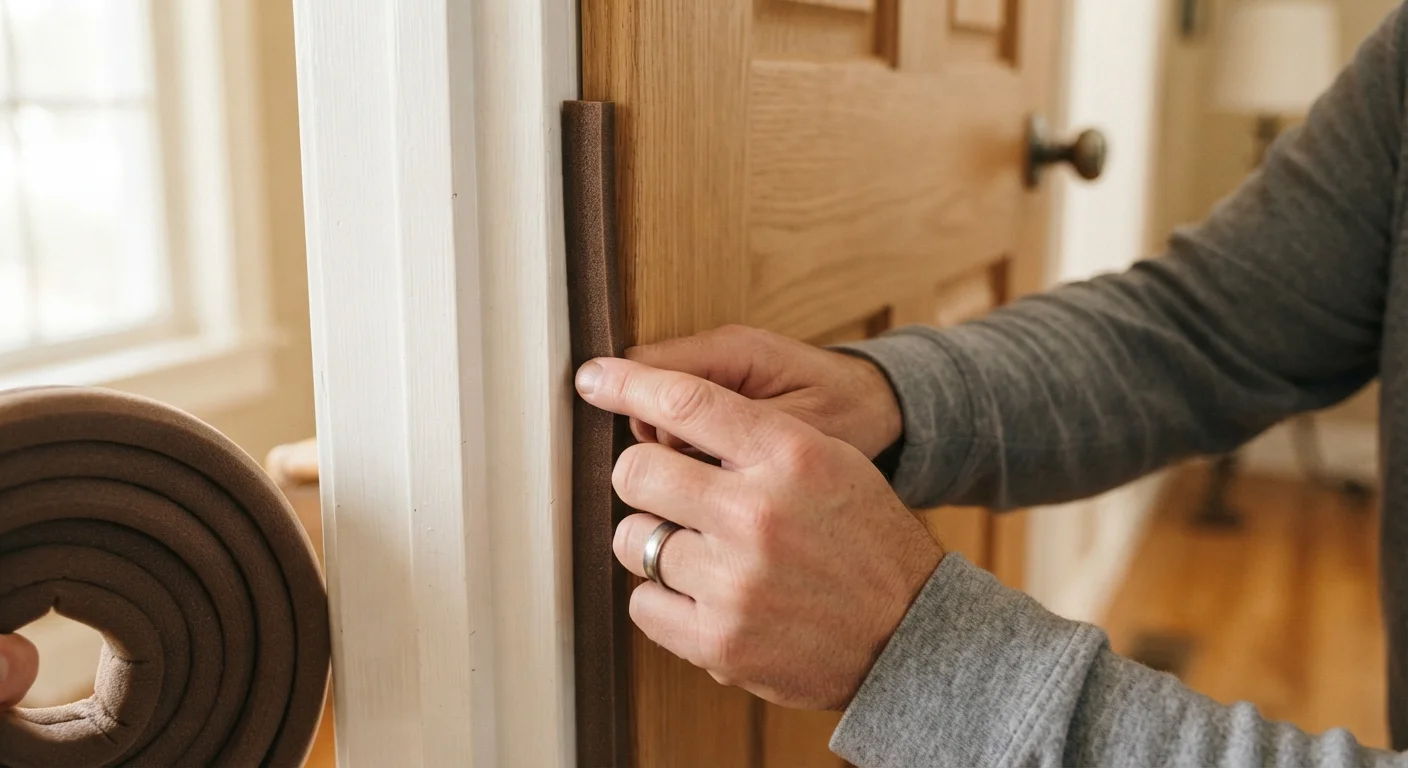
Match your sealant to the gap type — use caulk for stationary cracks, weatherstripping for moving parts.
Caulk bonds rigidly and works well where surfaces don't move relative to each other. Weatherstripping is designed to compress and recover, making it the right choice for door and window edges that open and close repeatedly. Using the wrong material leads to premature failure.
Seal the attic hatch before touching any other part of the attic.
Warm air rises, meaning the attic hatch is under constant pressure to lose heat in winter. Adding weatherstripping to the frame and a layer of rigid foam board to the hatch panel itself addresses both air leakage and conductive heat loss.
Install foam gaskets behind exterior wall outlet and switch covers.
Electrical boxes are cut into wall cavities that communicate with exterior air. Pre-cut foam gaskets sized for standard single or double outlets take under a minute per outlet to install and require no tools beyond a screwdriver.
Use a door sweep or draft stopper on every exterior door with a visible gap at the base.
Even a quarter-inch gap under a door allows significant air exchange, especially when the HVAC system creates pressure differences between interior zones. Door sweeps mount to the door's bottom edge and brush against the threshold.
Seal plumbing and wiring penetrations in unconditioned spaces with low-expansion foam.
Gaps around pipes are common in older homes and often large enough to see daylight through. Low-expansion foam won't stress pipes the way high-expansion varieties can, and it remains flexible after curing.
If you're curious why caulk sometimes fails prematurely after you've done the work, this guide on caulk cracking explains the common causes and how to avoid them next time.
Where to Start Today
Weatherproofing doesn't require a full weekend or a contractor. Prioritize the highest-impact spots first, especially if you're renting and can't make structural changes — outlet gaskets, door sweeps, and weatherstripping are renter-friendly fixes in most cases (check your lease before making permanent changes).
Skipping small maintenance tasks has a way of compounding costs over time — a pattern that applies well beyond the home, as explored in the guide on costly car ownership mistakes. The same principle applies here: small, timely action consistently outperforms expensive reactive fixes.