Why Drywall Patches Show — And How to Prevent It
Most visible patches aren't the result of bad materials — they're the result of skipped steps. The three main culprits are edges that weren't feathered wide enough, compound that wasn't sanded smooth between coats, and paint applied without primer. Understanding these failure points upfront changes how you approach the whole job.
Drywall is made of a gypsum plaster core sandwiched between paper facings. When that facing tears or the core cracks, the repair goal is to restore a flat, continuous surface that reflects light the same way the surrounding wall does. Even a slight ridge or depression will cast a shadow under raking light — the kind of angled light that hits a wall in the morning or evening — and make the patch obvious.
Before you start, it helps to categorize the damage. Nail holes and dents under about ½ inch are the simplest fixes. Holes between ½ inch and 4 inches need a self-adhesive mesh patch or a California patch to provide structure. Anything larger than about 6 inches typically calls for a backing board and a cut-in drywall piece — a slightly more involved repair, but still manageable. If you're ever unsure whether a repair is within DIY territory, our guide to knowing when DIY is the right call walks through how to assess that honestly.
What you will need
Tools and Materials You'll Need
Having everything on hand before you start prevents mid-repair trips to the hardware store, which can throw off your timing between coats. Here's what a complete drywall patch kit looks like for most common repairs.
Spackle or lightweight joint compound
Fills nail holes and small dents; joint compound is better for multi-coat repairs on larger patches.
Putty knife (3-inch and 6-inch)
Applies and feathers compound smoothly across the repair area.
Self-adhesive mesh patch
Provides backing and structure for holes between ½ inch and 4 inches.
Sandpaper (120-grit and 220-grit)
Smooths each dried compound coat; finer grit for the final pass before priming.
Primer (drywall or PVA)
Seals the compound so topcoat paint doesn't look blotchy or sink into the patch.
Sanding block or sponge
Keeps sanding pressure even across the patch surface to avoid low spots.
Matching wall paint and roller or brush
Blends the primed patch with the surrounding wall color.
For renters who want to avoid creating new damage in the first place, understanding wall-mounting options before hanging anything is worth reading first.
Step-by-Step: Patching the Hole
Work through these steps in order. The process is the same whether you're fixing a doorknob dent or filling old anchor holes before moving out.
Clean and prepare the damaged area
Use your putty knife to scrape away any loose paper, crumbled gypsum, or peeling paint around the hole or dent. The compound needs a clean, stable surface to adhere properly. For a nail hole, simply press any raised edges flat. For larger holes, trim any jagged drywall edges so the opening has clean, defined borders.
Apply backing or mesh patch for holes over half an inch
For holes larger than ½ inch, press a self-adhesive mesh patch firmly over the opening, centered so the mesh extends at least 1 inch past the hole in every direction. The mesh gives the compound something to grip and prevents the patch from sinking as it dries. For small nail holes, skip this step and go straight to compound.
Apply the first coat of joint compound
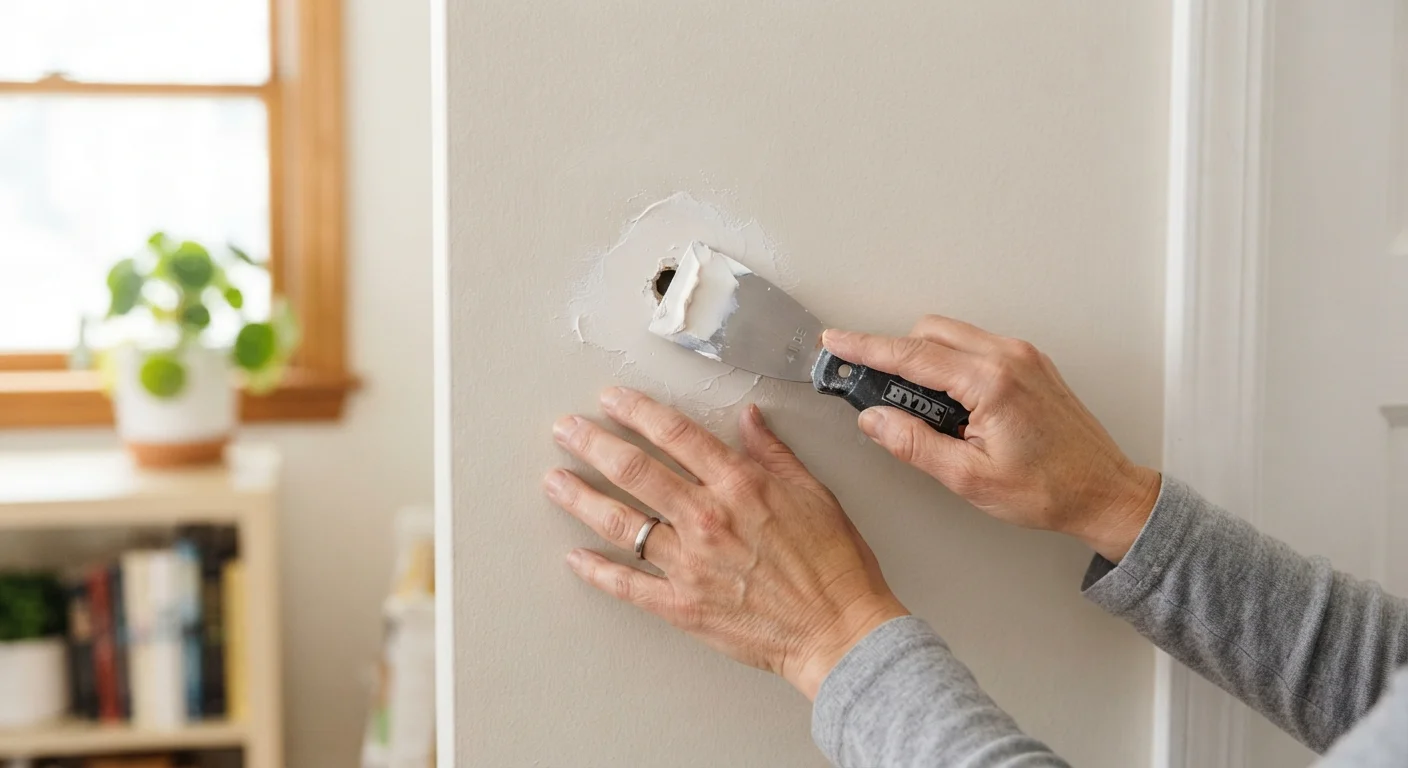
Load your 3-inch putty knife with a small amount of lightweight joint compound. Press it firmly into the hole or over the mesh, working it into any gaps. Then use long, sweeping strokes with your 6-inch knife to spread a thin, even layer over the patch, extending about 2–3 inches beyond the edges. The first coat doesn't need to be perfect — it just needs to fill the void.
Let dry completely, then sand lightly
Joint compound must be fully dry before sanding — it turns from gray or translucent to a uniform white when ready. This typically takes 2–4 hours depending on humidity and coat thickness. Once dry, sand lightly with 120-grit sandpaper using a sanding block. You're just knocking down ridges and high spots, not removing material aggressively. Wipe away dust with a dry cloth.
Apply second (and third) coats, feathering wider each time
Apply a second coat, this time with your 6-inch knife and spreading the compound even wider — 4 to 6 inches from the center. Use very light pressure toward the outer edges so the compound tapers almost imperceptibly into the existing wall. A third coat, spread wider still, is often needed for holes over 1 inch. Each coat should be thinner than the last.
Final sand and texture match
After the final coat dries, do a final sand with 220-grit paper until the surface is smooth and flush with the surrounding wall. Run your hand across it — you shouldn't feel any edge. If your wall has a texture (like orange peel or knockdown), now is the time to replicate it using a texture spray or a sponge dabbing technique before priming. A smooth patch on a textured wall will show up just as much as a poorly feathered one.
Prime, then paint
Apply a coat of drywall primer or PVA primer over the repaired area and let it dry fully. Priming is non-negotiable — unpainted joint compound is highly porous and will absorb paint unevenly, leaving a dull spot called flashing even if the surface looks perfectly smooth. Once primed, apply your topcoat paint. Feather the paint 6–8 inches beyond the patch to help it blend with the surrounding wall sheen.
Test Under Raking Light Before You Paint
Before priming, hold a flashlight or work light at a sharp angle against the wall surface. This mimics the low-angle light that makes imperfections visible and reveals any ridges or depressions you might have missed. Catching them at this stage is far easier than fixing them after paint is applied.
Once your patch is primed and painted, the wall is ready for whatever comes next. If you're painting an entire room, our room painting guide covering prep through final coat picks up right where this repair leaves off.
Renters: What to Know Before You Patch
If you're renting, a clean patch is often better for your deposit than leaving damage unaddressed — but it's worth knowing your lease terms. Some landlords prefer to handle repairs themselves, and patching without permission could technically be a lease violation, depending on the agreement. When in doubt, document the original damage with photos, notify your landlord in writing, and get their approval before picking up a putty knife.
Also keep in mind that matching paint exactly can be difficult without the original color code. If you can't locate the paint brand or formula, ask your landlord — many keep records. Otherwise, patching and priming is still worthwhile even if the paint match is imperfect, since a textured, primed patch will look far better than a raw hole. For other low-impact ways to personalize a rental, renter-friendly upgrades that leave no trace covers deposit-safe options worth knowing.
Don't Patch Over Moisture Damage
If the wall damage was caused by a water leak — identifiable by staining, soft or crumbling drywall, or a musty smell — patching over it without fixing the source first will only delay the problem. Wet drywall can harbor mold and will not hold compound reliably. Address the moisture source before any cosmetic repair begins.