Why Home Grooming Matters (and Why Cats Resist It)
Cats are famously self-cleaning, but that doesn't mean they don't need your help. Regular grooming at home prevents matting, reduces shedding, and gives you a chance to spot lumps, skin irritation, or early signs of parasites that might otherwise go unnoticed. It's also one of the quieter ways to build trust with your cat — if done well.
The resistance most cats show isn't stubbornness. It's usually a response to unfamiliar tools, an uncomfortable position, or a past session that moved too fast. Understanding that is the first step to changing the dynamic. If you're still in the early days with your cat, see our guide to the first 72 hours at home — those early trust-building moments lay the groundwork for grooming tolerance later on.
What you will need
Tools You'll Need
Using the right tools for your cat's coat type reduces discomfort and makes the process faster for both of you. Short-haired cats do well with a rubber grooming mitt or fine-toothed comb. Long-haired breeds need a slicker brush and a wide-toothed dematting comb. For nail trims, a small pair of pet-specific nail clippers works best — human nail clippers can split cat nails, which is uncomfortable for your cat.
Rubber grooming mitt or soft-bristle brush
Removes loose fur and distributes skin oils on short-haired cats with minimal discomfort.
Slicker brush
Detangles and smooths the coat on long-haired cats without pulling aggressively at the roots.
Wide-toothed dematting comb
Gently works through small tangles and mats in long-haired breeds before they tighten.
Pet-specific nail clippers
Trim cat nails cleanly without splitting or crushing the nail, which human clippers tend to do.
Soft cotton balls (unscented)
Used with a vet-approved ear cleaner to wipe the outer ear canal during routine checks.
Styptic powder
Stops minor bleeding quickly if a nail is accidentally clipped too short.
Step-by-Step: How to Groom Without the Drama
The steps below cover a full basic grooming session — brushing, nail trimming, and an ear check. You don't have to do all three at once, especially early on. Start with whatever your cat tolerates best, and build from there.
Pick the Right Moment
Start a grooming session when your cat is already calm — after a meal, a nap, or a play session that's wound down. Avoid grooming when your cat is alert and in hunting mode or when they're clearly agitated. Sit on the floor at their level rather than placing them on a high surface they can't easily step off — this reduces their stress significantly.
Brush the Coat, Working With the Grain
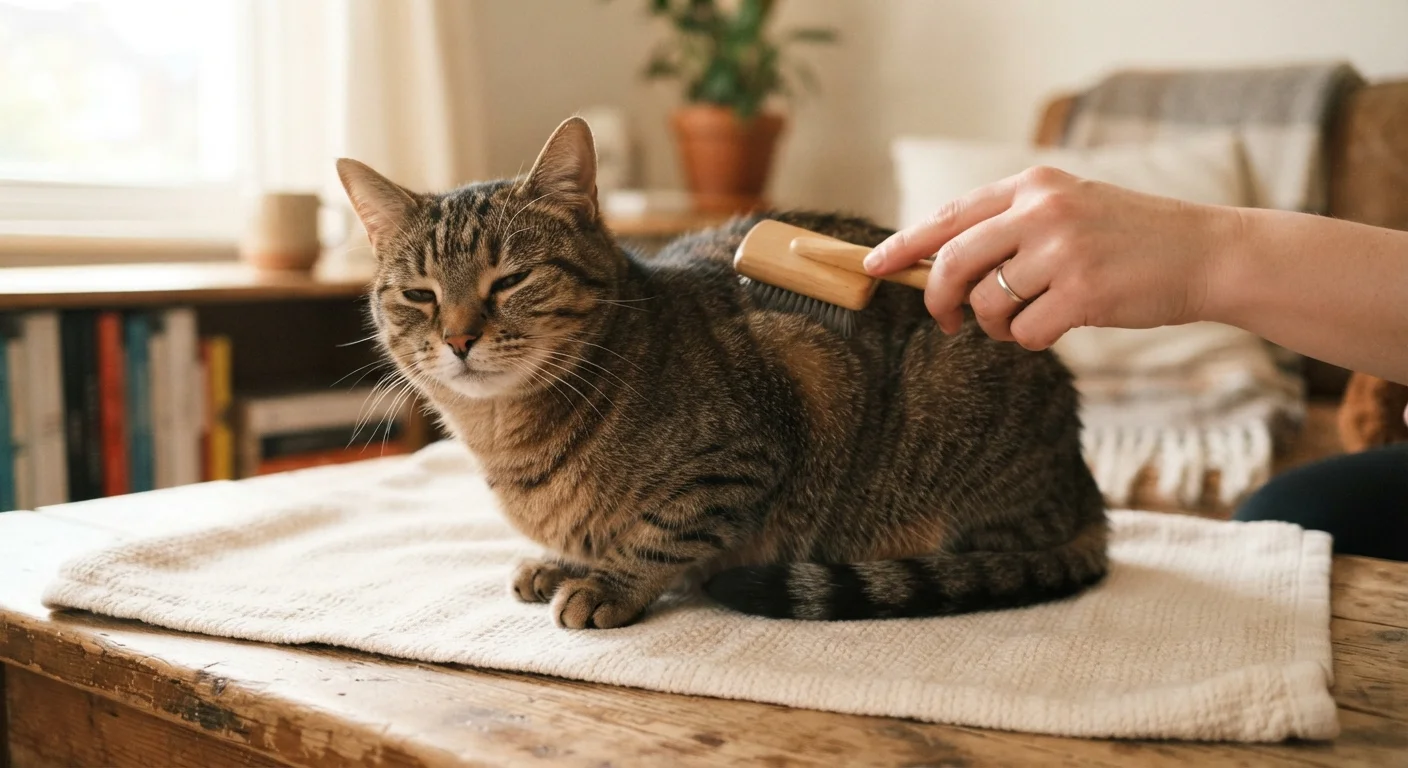
Begin brushing in the direction the fur grows, starting at the neck and moving toward the tail. Pay attention to areas cats tend to neglect themselves: behind the ears, under the chin, and along the belly. For long-haired cats, use a wide-toothed comb first to loosen any tangles before following up with a slicker brush. Never yank through a mat — hold the base of the fur firmly with your free hand to keep tension off the skin, then work through the tangle slowly from the tip inward.
Trim the Nails Carefully
Gently press your cat's paw pad to extend one nail at a time. You'll see a clear or white curved tip and, farther back, a pinkish area called the quick — this contains blood vessels and nerves. Clip only the sharp curved tip, well clear of the quick. Trim one or two nails per session if your cat is new to this, rather than rushing through all four paws at once.
Check the Ears
Fold back the ear flap gently and look inside. A healthy cat ear is pale pink, with no strong odor and minimal debris. A small amount of light brown wax is normal. Using a cotton ball lightly dampened with a vet-approved ear cleaner, wipe only the visible outer portion of the ear — never insert anything into the ear canal. This check takes less than a minute and can reveal early signs of infection or ear mites before they escalate.
Reward and End on a Positive Note
Immediately after grooming — or even mid-session — offer a treat your cat genuinely values. You can also follow up with a short play session using a wand toy to signal that the grooming experience leads to something enjoyable. Over time, this positive pairing is what transforms grooming from something your cat endures into something they tolerate — and occasionally even seek out.
Grooming Builds More Than a Clean Coat
Regular hands-on time with your cat reinforces your bond and keeps them comfortable being handled — which makes vet visits less stressful too. Cats who are groomed routinely at home are generally easier for veterinary staff to examine. Think of grooming as an investment in your cat's long-term comfort with human contact, not just a hygiene task.
When to Call the Vet Instead
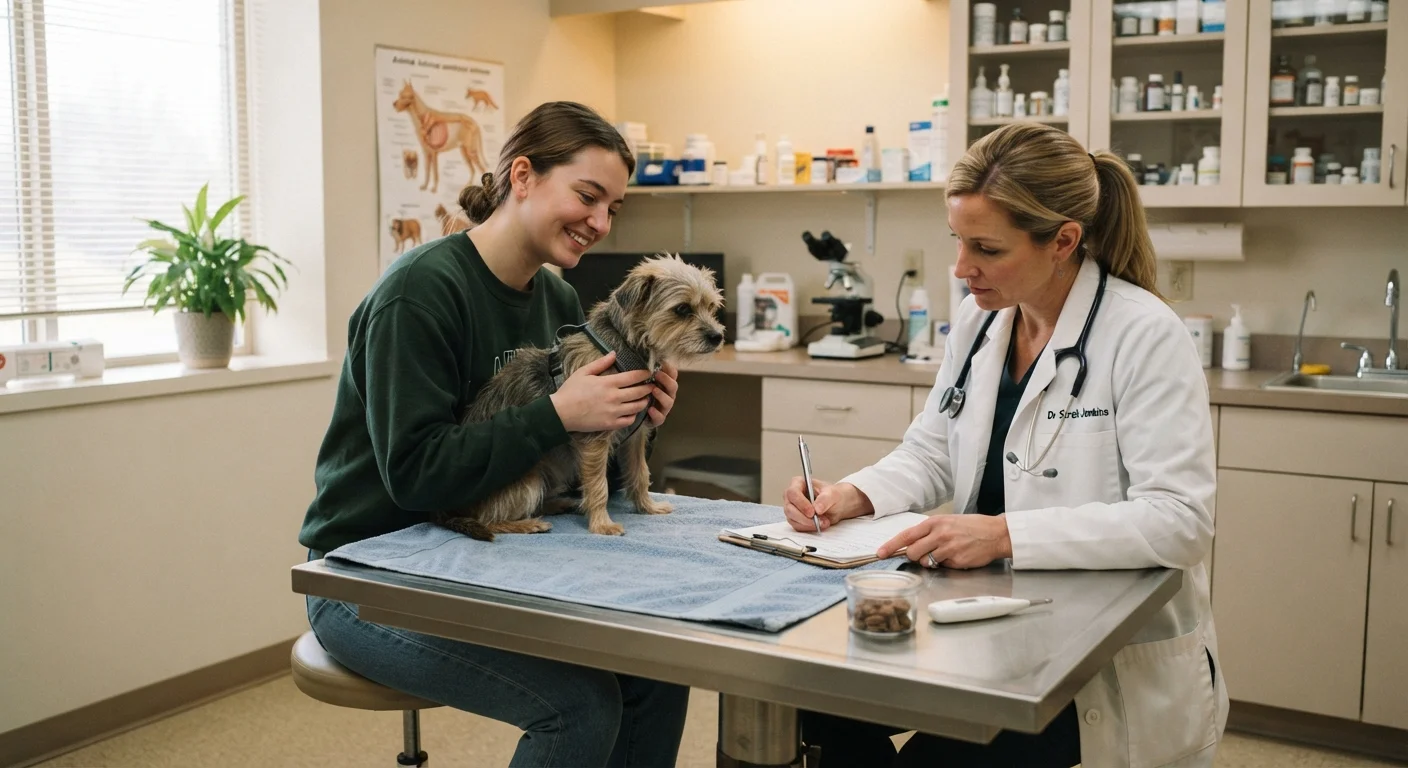
Home grooming has limits. If you find a mat too tight to work through comfortably, dark debris deep in the ear canal, red or inflamed skin, or nails that have already curved into the paw pad, those warrant professional attention rather than a DIY attempt. A professional groomer or your veterinarian can address these safely without causing pain or injury.
Grooming sessions are also useful health checks — don't underestimate them. Unusual lumps, bald patches, or behavioral changes like flinching at a spot you normally touch can be meaningful signals. Our article on signs your cat may need a vet visit soon walks through what to watch for between grooming sessions.
Never Use Human Grooming Products on Cats
Human shampoos, conditioners, and ear cleaning solutions are formulated for a different skin pH and can be harmful to cats — some ingredients are outright toxic when absorbed through the skin or groomed off and ingested. Always use products specifically labeled as safe for cats, and when in doubt, ask your veterinarian for a recommendation before trying anything new.
This article provides general pet care information and is not a substitute for professional veterinary advice. If you have concerns about your cat's health or behavior, consult a licensed veterinarian.